

Unholy Death Knight Guide to Dominating Midnight Season 1 Keystone Dungeons

- Unholy Death Knight Mythic+ Foundation
- Unholy Talents for Midnight Keystone Dungeons
- Choosing Mythic+ Flex Points
- Unholy Death Knight Gear and Stat Planning
- Trinkets, Gems, and Enchants
- Unholy Runes and Runic Power Control
- Scourge Strike and Festering Scythe Management
- Unholy Cooldown Timing in Mythic+
- Army of the Dead and Dark Transformation
- Death and Decay Placement
- Unholy Defensives and Dungeon Utility
- Anti-Magic Shell and Icebound Fortitude
- Death Grip, Crowd Control, and Movement
- Pet Management in Keystone Dungeons
- Common Unholy Death Knight Mistakes
- Unholy Mythic+ Practice Checklist
- Unholy Death Knight Mythic+ FAQ
- Is Unholy Death Knight suitable for Midnight Season 1 Mythic+?
- Should I always use one Unholy build?
- What should I practice first as Unholy?
- How should I check my Unholy gear?
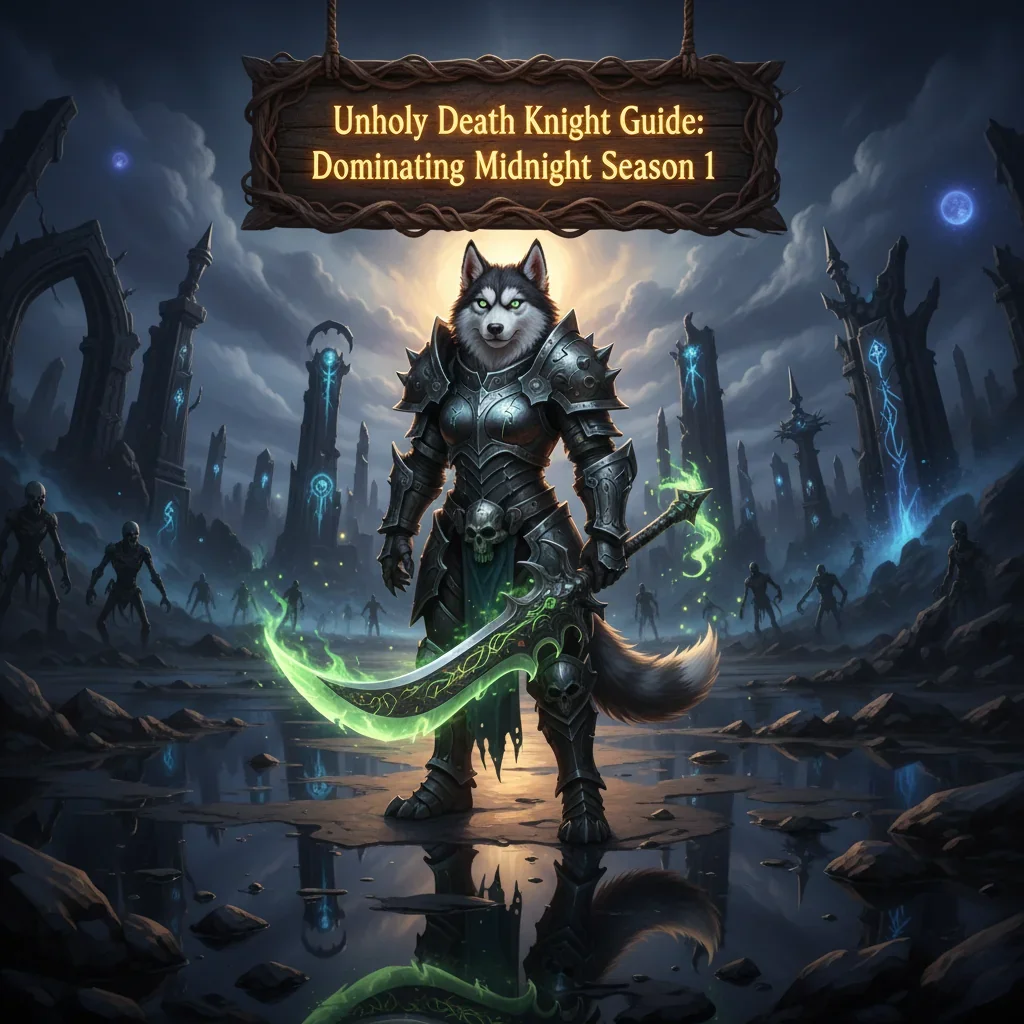
This Unholy Death Knight guide covers the decisions that shape your performance in Midnight Season 1 Keystone Dungeons. It focuses on talent choices, stat planning, rune and Runic Power control, cooldown timing, Death and Decay placement, and practical group utility.
Unholy can deal strong damage, but missed cooldown windows, wasted resources, poor ground-effect placement, and late defensive use can quickly hurt a run. Use this guide as a practical framework, then check current tooltips, class updates, simulations, and logs before finalizing your setup.
Unholy Death Knight Mythic+ Foundation
Unholy combines sustained damage, burst windows, a permanent combat pet, and useful control tools. The specialization becomes more demanding when several systems overlap, including runes, Runic Power, Scourge Strike, Festering Scythe, Death and Decay, Dark Transformation, Army of the Dead, and target movement.
Mythic+ performance is not only about repeating a training-dummy rotation. You must follow the tank, keep enemies inside your ground effects, preserve resources during movement, and use utility before a dangerous cast or failed pull becomes a problem. Exact talent and stat values can change during a season, so treat fixed rankings as a starting point rather than a permanent rule.
Unholy Talents for Midnight Keystone Dungeons
Start with a build that matches the content you actually play. A general Mythic+ setup should support reliable area damage, repeatable cooldown value, and enough defensive or control utility for difficult pulls and dungeon mechanics.
Choosing Mythic+ Flex Points
- Use area-damage options when your route regularly groups several enemies together.
- Keep control and utility talents when they help with interrupts, stops, movement, or dangerous mechanics.
- Choose defensive value when repeated unavoidable damage or deaths are limiting progress.
- Review your choices after changing the route, group composition, or key level.
Do not judge every talent by a small theoretical damage difference. A talent that simulates slightly lower damage may perform better in a real key if it helps you survive, control enemies, or maintain pressure while the group is moving. The best build is one that makes your important buttons practical to use during real pulls.
Unholy Death Knight Gear and Stat Planning
Item level is useful, but it is not the only factor when comparing gear. Secondary-stat value depends on your current items, talents, trinkets, embellishments, and the type of content you play. Mastery and Critical Strike can be important parts of an Unholy damage setup, while Haste and Versatility may also provide value depending on your character and current tuning.
Use a current simulation or reliable class resource when two items are close. Avoid treating one permanent stat priority as correct for every character. A large item-level upgrade, a stronger weapon, or a useful trinket effect can change the result.
Trinkets, Gems, and Enchants
Judge trinkets by how well they fit your cooldown windows and dungeon pulls. A strong single-target effect may help on bosses, while a repeatable area effect may be more useful on routes with frequent trash packs. Gems, enchants, and crafted choices provide smaller gains individually, but their value adds up across a complete setup.
Check your current character rather than replacing a working setup because of an old list from another season. Current tooltips, simulations, and combat logs are more useful than a stat ranking taken out of context.
Unholy Runes and Runic Power Control
Unholy damage becomes more consistent when you plan resources before using major cooldowns. Pressing every available button immediately can leave you without the runes or Runic Power needed for the next part of your burst window.
- Watch rune recharge so you do not enter an important pull with an empty resource bar.
- Spend Runic Power before reaching the cap, but do not spend it so early that a major cooldown window lacks fuel.
- Choose the appropriate spender for the number and type of targets in front of you.
- Keep attention on the primary target when area damage is not the only objective.
Resource planning matters even more when the tank is moving enemies. A sequence that looks perfect on paper can lose value if the pack leaves melee range or moves out of Death and Decay before your next global cooldown.
Scourge Strike and Festering Scythe Management
Scourge Strike and Festering Scythe require more awareness than a simple button priority. Track the stacks, buffs, or conditions that empower them, and avoid using a builder when an important effect is about to expire.
Some minor stack waste can be acceptable in a large pull if the alternative is delaying a major cooldown or missing a valuable spender. In smaller pulls and single-target situations, try to reduce unnecessary overcap and keep your resource cycle stable.
Unholy Cooldown Timing in Mythic+
Unholy has strong burst tools, but they only matter when enemies remain alive long enough for the damage to land. Before using Army of the Dead, Dark Transformation, or another major button, consider the pull size, the remaining life of the pack, and the next planned engagement.
Army of the Dead and Dark Transformation
These cooldowns are most valuable when they overlap with a meaningful pull and the group can keep targets together. Do not delay every cooldown while waiting for a perfect setup if the route offers several reasonable future opportunities. At the same time, avoid using major abilities on a dying pack simply because they are ready.
Communicate with the tank when your damage depends on enemies staying in one place. A short pause before a large pull can be more valuable than starting cooldowns while targets are still being gathered.
Death and Decay Placement
Death and Decay only provides full value when enemies remain inside it. Place it where the tank is likely to hold the pack, not where the first enemy happens to stand. If the tank is kiting, wait for a stable position when possible or use the effect for the most important part of the pull.
Do not chase perfect ground-effect uptime at the cost of missing mechanics. Moving out of danger and staying alive is more important than forcing one extra attack inside a fading effect.
Unholy Defensives and Dungeon Utility
A strong Unholy player contributes more than damage. Defensive cooldowns and control tools can prevent deaths, protect the healer, and make difficult packs easier to manage.
Anti-Magic Shell and Icebound Fortitude
- Anti-Magic Shell: Use it for meaningful magic damage or mechanics where its protection has real value. Do not treat it as a button that must be pressed on cooldown.
- Icebound Fortitude: Reserve it for heavy physical damage, dangerous situations, or moments when other defenses are unavailable.
- Lichborne and self-healing tools: Use them before your health becomes critical, especially when large pulls combine incoming damage and enemy control.
Review every death after a key. If you died with a defensive available, better timing may improve the next run more than another small damage increase.
Death Grip, Crowd Control, and Movement
Death Grip can gather ranged enemies, interrupt dangerous positioning, or rescue a caster that has moved away from the group. Use it with the tank’s plan in mind. Pulling a target at the wrong time can disrupt a route or create extra danger.
Asphyxiate and Blinding Sleet can help stop important casts when the group needs another control tool. Death’s Advance is useful for movement, knockback situations, and returning to the pack after a mechanic. These abilities can provide more practical value than a small damage increase from another talent.
Pet Management in Keystone Dungeons
Your pet is part of your damage profile, so watch its position and status during skips, transitions, and movement-heavy pulls. A pet that is dismissed, dead, or stuck can reduce your output and create avoidable downtime.
Keep a reliable way to check or resummon your pet, while remembering that resummoning may have a cooldown. Do not dismiss it immediately before a pull unless you know there is enough time to bring it back.
Common Unholy Death Knight Mistakes
- Using major cooldowns before the tank has grouped the pack.
- Dropping Death and Decay where enemies will not remain.
- Overcapping Runic Power while waiting for a cooldown.
- Ignoring defensive cooldowns until health is already too low.
- Following an old stat or trinket list without checking current tuning.
- Focusing on damage meters while missing interrupts, stops, or movement mechanics.
- Spending every resource on the first target instead of planning for the full pull.
Fix one mistake at a time. Start with deaths and missed mechanics, then review cooldown timing and resource waste. Damage optimization is easier after your route execution becomes stable.
Unholy Mythic+ Practice Checklist
- Check your current talents, gear, enchants, and consumables.
- Know which pulls are large enough for your major cooldowns.
- Ask the tank where enemies will be held before placing Death and Decay.
- Enter important pulls with enough runes and Runic Power.
- Track your pet during skips and movement.
- Use Death Grip, stuns, and defensives before the group loses control.
- Review failed pulls instead of judging the whole run by the final damage meter.
Unholy Death Knight Mythic+ FAQ
Is Unholy Death Knight suitable for Midnight Season 1 Mythic+?
Unholy can be effective when its cooldowns, resources, and utility are used well. Results depend on current tuning, gear, route design, group coordination, and player execution.
Should I always use one Unholy build?
No. A general build is a useful starting point, but talents can change with dungeon pulls, group needs, defensive pressure, and the type of damage required.
What should I practice first as Unholy?
Begin with resource control, Death and Decay placement, and major cooldown timing. Then add defensive planning and crowd control. These habits usually improve real dungeon performance more than chasing small theoretical gains.
How should I check my Unholy gear?
Compare close items with current simulations or logs for your character. Consider item level, weapon strength, secondary stats, trinket effects, and how each choice performs in the content you actually run.