

Medic Profits in Wardogs

This guide covers a practical Medic setup, safer revive routes, hot-zone positioning, ammunition and weight management, and the decisions that help turn support actions into profit.
- How the medic money strategy works
- Recommended medic loadout
- Manage weight and ammunition carefully
- When to spend more on equipment
- Why the AMP9 fits the medic role
- Play around groups and hot zones
- Choose fights that keep you alive
- How to revive safely
- Fight, loot, and communicate
- Communicate before and during rescues
- Search bodies throughout the match
- Understanding the money and break-even point
- Mistakes that reduce medic profits
- Medic match checklist
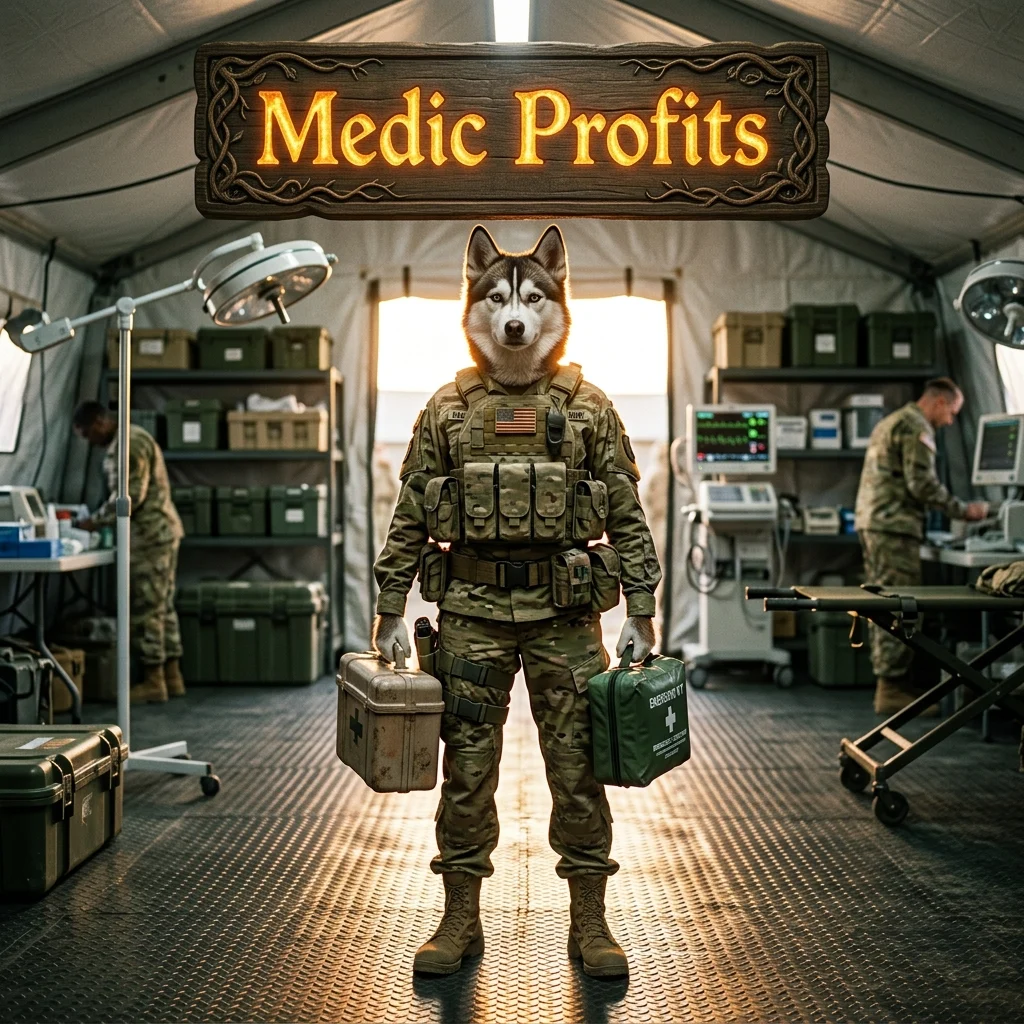
How Medic profits work in Wardogs
A profitable Medic run is built around value and survival. Revives and healing create income, while kills, assists, and looting help you stay active during the match. Every unnecessary death removes future earning opportunities and forces you to replace your loadout.
The best opportunities usually appear near groups of teammates and active hot zones. In these areas, you may be able to heal several players, complete multiple revives, support the fight, and collect supplies without travelling far between actions.
Medic play is not passive. You still need to reposition, fight when necessary, communicate with your squad, and decide which rescues are safe enough to attempt.
A practical Medic loadout
The example setup keeps the entry cost under control while giving the Medic enough protection and close-range firepower to stay useful.
- Weapon: AMP9 submachine gun.
- Magazine: 30-round magazines.
- Optic: Cobra Reflex or another fast-aiming sight.
- Armor: Level 2 armor.
- Medical equipment: Defibrillator when available at Medic level 13.
- Utility: Smoke grenades when available.
This approach does not depend on armor-piercing ammunition. The AMP9 gives the Medic a useful close-range option while also supporting Medic class progression. If the defibrillator is not unlocked, use the revival equipment available to you and keep the rest of the kit affordable.
Manage weight and ammunition
Carry enough ammunition for the fights you expect, but avoid filling your inventory with unnecessary magazines. Extra rounds can be more practical than carrying too many spare magazines because magazines add weight.
The Cobra Reflex is not essential. Choose a sight that matches your preferences, but a fast-aiming optic fits close-range Medic fights where enemies can appear with little warning.
When to spend more on equipment
The cheapest possible kit is not always the most profitable one. Higher armor, more tactical sprint capacity, and a larger backpack can help you survive longer and carry more useful supplies.
Upgrade when the extra cost supports a clear purpose. Better equipment should help you complete more revives, remain in the fight, or avoid replacing your kit after a single mistake. Spending more without improving your survival can slow down your break-even point.
Why the AMP9 fits the Medic role
The AMP9 gives the Medic a close-range weapon for defending a revive or dealing with enemies inside tight spaces. Its use also contributes to Medic progression, so the weapon supports the same general role as your medical actions.
The Vector can become a later upgrade when unlocked. The M9 is another possible choice, especially with armor-piercing ammunition, although the example strategy does not require that ammunition.
The main goal is consistency. A weapon that lets you protect yourself while staying near your squad is more useful here than a loadout that is powerful but too expensive to replace.
Use hot zones and team groups
Stay close to a group whenever possible. A Medic operating alone has fewer players to heal or revive and is more exposed when an enemy appears.
Hot zones are valuable because support and combat actions performed there can provide increased earnings. Revives, healing, kills, and respawns can all contribute to the run. Exact rewards may vary, but the general advantage comes from finding several support opportunities in one active area.
Healing can be especially useful during a busy fight. The first treatment on a teammate may provide a larger payout, while repeated treatments on the same player can become less valuable. Supporting different teammates can therefore create more opportunities than repeatedly treating one player.
Choose fights that preserve profit
Do not rush toward every downed teammate. Check the route, enemy positions, available cover, and whether your squad can protect the rescue.
- Can you reach the teammate without crossing exposed ground?
- Can you move them into cover before reviving?
- Can your squad hold the area after the rescue?
If the answer is no, waiting for a better opening or leaving the rescue may be correct. Medic profits depend on surviving through several support actions, not on attempting every revive immediately.
How to revive safely
Good Medic play depends on movement and timing. Use the map and nearby objects to reduce the danger between you and a downed teammate.
- Move between cover: Use walls, structures, trains, smoke, and other obstructions instead of crossing open ground whenever possible.
- Approach from an unexpected angle: A side route or lower path may be safer than the obvious approach.
- Use smoke before committing: Smoke can reduce enemy vision while you reach or move a teammate.
- Drag players into cover: Avoid reviving someone exactly where they fell if the area is still exposed.
- Ask for an angle to be watched: A nearby teammate can make the rescue safer.
- Reposition after the revive: Do not remain in the same exposed spot once the player is back up.
Restoring two teammates can change the balance of a fight, but that does not make every rescue worth the risk. Treat each revive as a decision about cover, enemy pressure, and the squad’s ability to support you.
Fight, loot, and communicate
A Medic should not refuse to fight. If an enemy is blocking a rescue, eliminating that enemy may be the safest way to protect the squad and complete the revive. The AMP9 is suited to these short-range engagements.
Communicate during rescues
Tell teammates when you are moving for a revive and ask them to hold an angle or warn you about nearby enemies. Clear information helps the squad protect the rescue instead of exposing themselves at the wrong moment.
After a successful revive, the restored teammate can add firepower, distract enemies, or cover another rescue. Communication turns separate support actions into a coordinated response.
Loot for medical supplies
Search defeated players for ammunition, medical supplies, defibrillator batteries, stimulators, and revival items. Replacing supplies from the battlefield lowers the cost of continuing the run.
If your defibrillator battery runs out, check nearby bodies for another battery or revival item. Stimulants found during the match may also provide additional value when used appropriately.
Understand the break-even point
Your run becomes profitable only after you recover the cost of the equipment you brought in. This is why survival matters so much. Each additional minute can create more chances to heal, revive, fight, and loot without immediately buying another loadout.
One described example earned approximately $178,000 profit with 11 kills, two assists, and 30 revives. This demonstrates the potential of combining support actions with combat, but it is an example rather than a guaranteed result.
The reference example also describes a revive outside a hot zone paying around $1,400 and a treatment paying approximately $1,600 in a hot zone. Treat these numbers as scenario examples. Actual earnings can vary, so focus on building several safe support opportunities instead of relying on one payout.
Mistakes that reduce Medic profits
- Running directly into danger: A rescue that causes two deaths can erase the value of the action.
- Ignoring smoke: Smoke can create a safer route across exposed ground.
- Reviving in the open: Move the teammate behind cover when possible.
- Playing too far from the squad: Isolation reduces both safety and support opportunities.
- Refusing to fight: Some rescues require you to remove the enemy first.
- Failing to loot: Running out of ammunition or medical supplies can end a profitable run early.
- Overspending on gear: A stronger kit is only useful if it improves survival or match value.
- Chasing every downed player: Prioritize rescues that support the wider fight.
Medic match checklist
- Use an affordable loadout with a close-range weapon.
- Carry enough ammunition without adding unnecessary weight.
- Stay near a squad and look for activity around hot zones.
- Heal teammates when the area is controlled.
- Use smoke and cover before exposed revives.
- Move downed teammates away from danger before reviving them.
- Ask teammates to watch angles during rescues.
- Fight decisively when an enemy blocks the revive.
- Loot bodies for ammunition, batteries, stimulators, and revival supplies.
- Stay alive long enough to move from break-even into profit.
The Medic profit strategy in Wardogs combines safe positioning, useful support actions, controlled aggression, and careful spending. Stay close to your team, choose rescues that can be protected, use hot zones when the fight allows it, and keep your equipment cost aligned with your ability to survive.