

Beginner’s Guide in War Dogs

- Understand the Main Objective
- Use Capture Towers Wisely
- Manage Money and Equipment
- Protect Your Investment
- Build a Balanced Loadout
- Understand Weight Levels
- Plan Ammunition Storage
- Practice Before Entering Combat
- Develop Multiple Roles
- Why Role Flexibility Matters
- Reach the Frontline Effectively
- Travel and Disembark Safely
- Construct and Supply Forward Bases
- Build Faster with the Hammer
- Keep FOBs Supplied
- Design Defensible Bases
- Improve Combat Awareness
- Close Every Door and Gate
- Mark Targets for the Team
- Prepare for Vehicles and Aircraft
- Use Mobile Respawns Carefully
- Beginner Gameplay Checklist
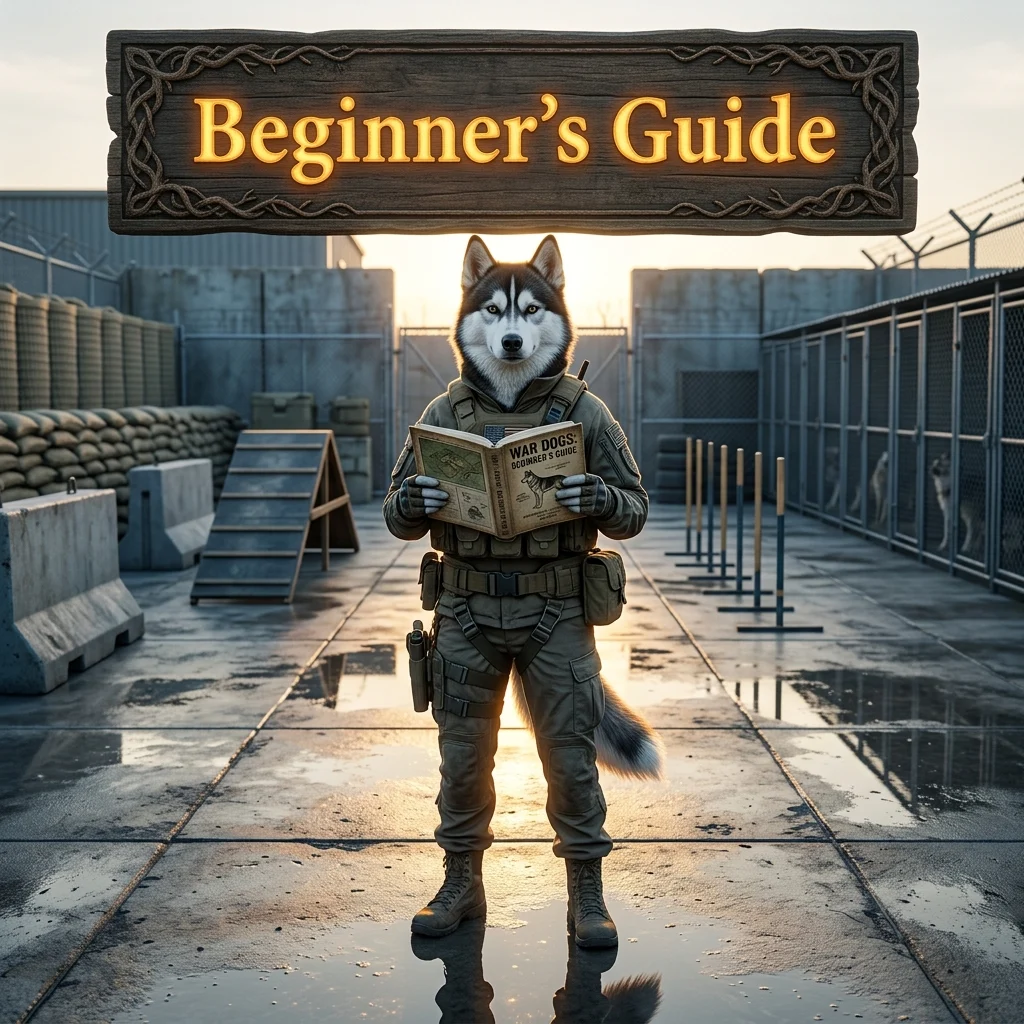
War Dogs is a large-scale multiplayer FPS built around three-way territorial warfare, combined-arms combat, player-built fortifications, and a persistent economy. Winning firefights matters, but so do transport, logistics, scouting, construction, reviving, and simply keeping valuable equipment in the hands of your faction. This beginner’s guide explains the core objective, how to prepare a loadout, how to reach the frontline, and which teamplay habits make the biggest difference.
Understand the Main Objective
Matches feature up to 100 players divided between three factions. The primary battle takes place inside a large central control zone. Teams earn points at regular 30-second intervals based on their presence in that area, while players inside the zone also generate cash over time.
The smaller moving hot zone is the most important part of the objective:
- It constantly moves within the larger control zone.
- A player inside it counts as two players for team presence.
- Players inside it receive approximately twice the usual cash income.
- Its changing position forces teams to fight over different buildings, bases, and defensive positions throughout the match.
The faction with the most players in the main control zone at the end of the timer receives the point. This means that capturing the hot zone is valuable, but maintaining broad control of the surrounding area is also important.
Use Capture Towers Wisely
Two to five capture towers can appear inside the main control zone. Capturing a tower console gives your faction one digit of a master code. Once your team collects every digit, it can enter the completed code at a tower and pull the hot zone directly to that location for a limited time.
Towers create an additional strategic layer. They are worth contesting when your team can defend them, but sending players there without transport, supplies, or a plan for holding the position can waste lives and equipment. Treat a tower capture as the beginning of an attack or defensive operation, not the end of one.
Manage Money and Equipment
War Dogs uses a persistent cash system. You begin with 10,000 cash, and profits or losses carry over between matches. Cash is spent on weapons, ammunition, armor, medical items, equipment, vehicles, and other battlefield tools. It can also be converted into gold bars for cosmetic skins.
You can earn money and experience through many activities, including:
- Eliminating enemies.
- Healing and reviving allies.
- Building and repairing structures.
- Delivering supplies and passengers.
- Scouting targets for your team.
- Completing useful transport and logistics tasks.
Because money persists, a match is not only about winning the next firefight. It is also about building a long-term financial base that gives you more options in future rounds. Below level nine, new players receive a 50% recruit discount on gear, which makes early experimentation less expensive.
Protect Your Investment
Equipment must be purchased manually at the main faction base before deployment. If you die and an ally does not rescue you, other players can take the equipment you carried. You will then need to purchase replacements after respawning.
Use the quick-purchase feature for previously selected gear sets so you can return to the fight faster. More importantly, avoid taking expensive equipment into a hopeless attack. If your squad is isolated, out of ammunition, or facing overwhelming armor, withdrawing can save more money than forcing an unnecessary fight.
Build a Balanced Loadout
War Dogs does not force you into a rigid traditional class system. You can combine equipment in unusual ways, such as pairing a sniper rifle with a defibrillator for an aggressive frontline support build. However, equipment still has unlock requirements, and permanently unlocking some items requires a significant one-time payment before you can buy them cheaply during matches.
Understand Weight Levels
Every item contributes to your overall equipment weight. The five weight categories are:
- Lightest
- Light
- Medium
- Heavy
- Super heavy
Heavier equipment generally provides better resistance against certain ammunition types, but it also makes your character less mobile. High weight and full backpacks can reduce:
- Movement and sprint speed.
- Stamina regeneration.
- Jump height.
- Aiming speed.
Do not automatically choose the heaviest armor. A slower player may struggle to reach cover, escape vehicles, reposition between objectives, or carry supplies efficiently. Select protection based on your role and expected fight rather than maximizing armor at all costs.
Plan Ammunition Storage
Magazines take up inventory space according to their size, while loose ammunition can be carried in larger stacks. Magazines allow rapid reloads, but spare rounds give you more total ammunition for the same amount of inventory space.
A practical ammunition plan is to carry enough loaded or ready-to-use magazines for immediate combat, then use loose rounds to replenish them during safer moments. Loose ammunition must be loaded manually with the C key or by dragging it onto a magazine, so do not wait until you are under fire to discover that all your ammunition is still unpacked.
Want to focus on learning the battlefield instead of rebuilding your setup? Explore War Dogs boosting services for help with progression and match preparation.
Practice Before Entering Combat
The training ground is one of the best tools available to new players. Weapons, body kits, and equipment can be tested there for free, allowing you to learn without risking your cash or your teammates’ supplies.
Use the training area to:
- Learn recoil patterns and effective engagement distances.
- Practice navigating the purchase and deployment menus.
- Test medical and support equipment.
- Learn vehicle controls before taking a valuable vehicle into a match.
- Experiment with fortification layouts.
- Practice fighting around vehicles and other structures.
The training ground includes a dummy simulator, a sniper practice area, and a full map simulation. Spend time there before attempting to pilot aircraft, operate logistics vehicles, or construct a frontline base. A few minutes of practice can prevent an expensive mistake during a live operation.
Develop Multiple Roles
Experience is earned for almost every useful action, and different activities advance different role paths. Even if you prefer one role, learning several jobs makes you more valuable when your team lacks a specialist.
| Role path | Useful progression activities | Examples of unlocks |
|---|---|---|
| Stormtrooper | Use assault rifles, pistols, and grenades to defeat enemies. | Sights and grips |
| Support | Use light machine guns and shotguns, build bases, and repair equipment. | Support-related equipment and improvements |
| Medic | Heal and revive allies or eliminate enemies with submachine guns. | Health, healing items, and smoke grenades |
| Scout | Use marksman or sniper rifles and identify enemies for your team. | Weapons, camouflage suits, and a block bow |
| Driver | Transport players and logistics or destroy ground vehicles. | Driver progression |
| Pilot | Transport players and supplies by aircraft or destroy aerial threats. | Pilot progression |
You can also level certain paths passively. Reviving a downed teammate, for example, contributes to Medic progression even if you are primarily playing another role. This makes basic teamwork an efficient way to unlock better tools.
Why Role Flexibility Matters
Teams may need someone to deliver supplies, hunt mobile artillery, transport infantry, repair a damaged position, or provide anti-vehicle weapons. If you understand several roles, you can fill those gaps instead of waiting for another player.
Role knowledge also helps you recognize enemy priorities. A player who understands logistics will know which supply vehicles are worth ambushing, while a pilot will better understand the limitations and likely routes of enemy aircraft.
Reach the Frontline Effectively
Faction bases are located far from the central control area, so running to the objective is usually impractical. Ground vehicles, helicopters, and mobile respawn points are essential for maintaining pressure.
At the start of a match, drivers and pilots should look for vehicles with available seats and transport players toward the central zone. Transport operators earn money and experience when passengers survive the journey and disembark successfully. They can continue earning while those passengers fight and complete objectives.
Travel and Disembark Safely
- Choose a vehicle that matches the number of passengers and the planned route.
- Avoid delivering the entire squad directly into an exposed enemy position.
- Use terrain, cover, and existing structures to approach the objective.
- Let passengers disembark at a defensible location rather than at the first available opening.
- Keep transport vehicles alive when possible so they can make another run.
Passengers should not treat transport as a disposable taxi. Surviving the trip preserves equipment, keeps the attack moving, and helps the driver or pilot earn continued income.
Construct and Supply Forward Bases
Support players can purchase an FOB deployment item from the main merchant. It occupies a 2×3 rectangle in the inventory. Bring logistical resources and a construction hammer, then deploy the FOB at a useful frontline position to create an area where structures can be built.
Build Faster with the Hammer
With the hammer equipped, open the construction menu to select available structures. Depending on the level of the FOB, you may be able to build sandbags, Hesco blocks, walls, mortars, cannon positions, and other defenses.
- Choose a structure from the construction menu.
- Place its silhouette in the desired location.
- Confirm the placement.
- Strike the yellow X markers that appear during construction.
- Release the impact button as soon as the hammer reaches the marker.
- Immediately begin the next strike instead of holding the button.
Releasing the button at the point of impact cancels part of the strike animation and allows faster follow-up blows. This technique can significantly improve construction speed.
Keep FOBs Supplied
Forward bases require building materials, ammunition, fuel, and mechanical parts. Drivers and pilots can sacrifice passenger space to carry logistics crates or resource pallets to the frontline.
- Crates: Can contain medicines, ammunition, anti-tank weapons, and other supplies. Players at the FOB need inventory space to collect the contents and place them in the base warehouse.
- Pallets: Hold much more of one resource type and can be delivered instantly with a short interaction when dropped inside the FOB construction area. Only large vehicles, such as trucks and oversized helicopters, can carry them.
Crates are fragile and must be dropped within safe height and speed limits. Resource prices can be adjusted upward for profit or lowered to recover costs without putting excessive financial pressure on the team.
Watch for crate and pallet icons on the map. Unclaimed supplies can be destroyed by artillery, and delayed deliveries allow the opposing faction to strengthen its own frontline faster.
Design Defensible Bases
Good FOB design is more than placing walls randomly. Corner bunkers can provide visibility along the outside of the walls, while tall layered defenses help protect against snipers. Make sure structures do not create blind approaches or block your own firing positions.
Some bases can support drills that influence the hot zone. Building four drills is difficult because of their long construction times, but it allows the team to alternate their recovery periods as long as enough fuel is available. Activating them for maximum duration can require up to 6,000 fuel, so logistics players must plan fuel deliveries alongside ammunition and construction materials.
All drills share launch timers across factions. If another team has already used its drill to draw the hot zone, your faction cannot counter it with another drill. The alternative is to physically attack and retake the enemy base.
Improve Combat Awareness
Close Every Door and Gate
Always close doors and gates behind you when leaving a fortified position. An open entrance can let enemies bypass carefully constructed defenses and enter the base without fighting through the intended approach.
This is a small habit with a major effect. Assign players to check entrances during defensive operations, especially after a squad leaves the base to pursue kills or respond to an attack.
Mark Targets for the Team
Scouts can use binoculars or rangefinders to mark enemy infantry, vehicles, and bases. A marked target provides Scout experience and cash bonuses when teammates destroy it. More importantly, the mark warns nearby allies and helps them coordinate an ambush.
Target marking becomes even more effective when combined with squad voice chat. Call out the target type, direction, and urgency so teammates know whether to engage, reposition, or prepare an anti-vehicle weapon. Binoculars are not restricted to one specialist and can be picked up and used by other players.
Prepare for Vehicles and Aircraft
Fully manned vehicles supplied from the main base are serious threats, especially when an experienced crew is operating them. Commander positions can improve reload speed, making sustained attacks even more dangerous.
Your team should maintain access to anti-vehicle tools such as:
- RPGs for ground targets.
- Stinger missiles for aircraft.
- Stationary anti-vehicle installations.
- Crates containing additional anti-tank equipment.
Do not assume one player can handle every armored threat. Several members of the team should know where anti-vehicle supplies are stored and be prepared to use them. Logistics players can make a major difference by delivering RPG and Stinger crates to forward bases.
Need a faster path through War Dogs progression? Get support from War Dogs progression experts and spend more time improving your frontline decision-making.
Use Mobile Respawns Carefully
After any faction reaches 20 points, an armored personnel carrier appears at each team’s base. If transported to the frontline and parked near a forward position, it can become a mobile team spawn point available through the deployment map.
The APC has important limitations:
- Each player has a personal 10-minute cooldown timer.
- It cannot support endless repeated respawns for the same player.
- The roof-mounted satellite dish reveals the vehicle’s purpose.
- Enemies can destroy the dish and disable the respawn function.
Hide or protect the APC instead of leaving it in an obvious location. Position it close enough to support the objective, but not so close that the enemy can destroy it immediately after spotting the dish.
Beginner Gameplay Checklist
- Fight for the moving hot zone, but do not abandon the wider control area.
- Use capture towers when your team can defend the code progress.
- Spend cash with the risk of losing your equipment in mind.
- Balance armor protection against movement, stamina, and aiming speed.
- Carry a practical mix of loaded magazines and loose ammunition.
- Practice weapons, vehicles, and construction at the training ground.
- Revive, heal, scout, transport, build, and resupply whenever your team needs it.
- Use vehicles to reach the frontline rather than attempting the long run from base.
- Keep FOBs stocked with materials, ammunition, fuel, and mechanical parts.
- Close every door and gate behind you.
- Mark enemies so teammates can coordinate attacks and earn rewards.
- Keep RPGs, Stingers, or other anti-vehicle options available.
- Protect mobile APC respawn points and their satellite dishes.
The fastest way to improve in War Dogs is to think beyond individual kills. Learn how the economy, transport network, FOB, scouting system, and objective timers interact. A player who delivers supplies, protects a spawn point, marks a vehicle, or keeps a defensive gate closed can contribute just as much to victory as the player who wins the final firefight.