

Make Briestleback Broken In 7.37e Dota 2

- Comparison: Snot Rocket vs. Seeing Red
- Understanding Bristleback’s Strengths
- Advanced Strategies for Competitive Play
- Building Bristleback Effectively
- Mid to Late Game Strategies
- Bristleback’s Role in Team Fights
- AOE Goo and Its Applications
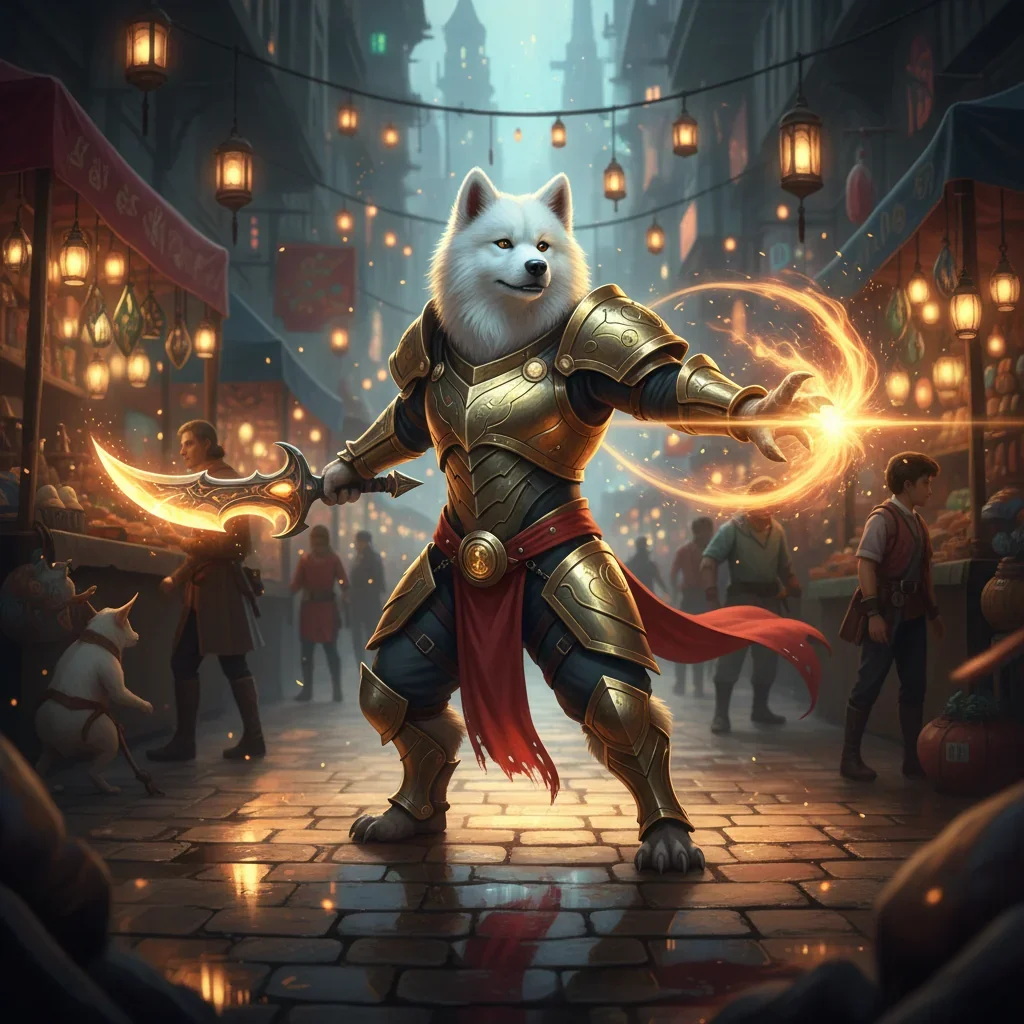
Welcome, adventurers! Librarian Husky here, your dedicated guide to mastering the intricacies of Dota 2. Today, we’ll explore the unique and versatile playstyle of Snot Rocket Bristleback, a powerful offlane hero capable of dominating the battlefield with strategic execution and well-timed abilities. Together, we’ll delve into strategies, itemization, and gameplay tips to help you take your Bristleback gameplay to the next level. Let’s get started!
Comparison: Snot Rocket vs. Seeing Red
Bristleback offers two distinct playstyles: Snot Rocket and Seeing Red. Seeing Red focuses on synergizing with Aghanim’s Scepter by shooting quills from your back when hit, enhancing Bristleback’s ability to deal passive damage while tanking. However, the Snot Rocket facet is superior due to its versatility and impactful utility across various game stages.
Key Advantages of Snot Rocket
Snot Rocket amplifies armor reduction by one per stack, which may seem minor but becomes significant with a cooldown of just 1.8 seconds. Instead of relying on quills, this facet enables you to launch Goo when hit, increasing control and pressure in skirmishes and team fights.
Increased Stack Limit
One notable feature of Snot Rocket is the increase in Goo stack limit from four to six. While it might seem situational, in practice, reaching six stacks is common against objectives like Roshan, Tormentors, and during prolonged fights, amplifying your effectiveness.
Shard and Talent Synergy
The Shard’s ability to apply two stacks of Goo further enhances Snot Rocket’s impact. Additionally, the level 15 talent for Goo cast range extends its reach, making it a preferred choice among experienced players for its ability to disrupt enemies before they can react.
Understanding Bristleback’s Strengths
Bristleback is a durable and versatile hero known for his ability to withstand immense damage while dealing consistent outputs in prolonged engagements. His tankiness, paired with his capability to reduce enemy armor and slow their movement, makes him an exceptional frontliner and team fight initiator. Bristleback’s strength lies in his ability to sustain through fights, forcing enemies to commit significant resources to take him down, all while his abilities amplify the damage potential of his allies. This makes him a cornerstone in team compositions focused on attrition and area control.
Effective Frontliner and Gap Closer
Bristleback’s exceptional cast range and tankiness allow him to engage enemies effectively while remaining a challenging target to kite. This combination makes him a reliable frontliner capable of creating space for his team and applying consistent pressure on the map.
Adaptability in the Laning Phase
In the early game, Snot Rocket Bristleback excels due to its flexibility. Prioritizing Q, which reduces armor by 4.5 at level one, gives Bristleback a significant advantage over squishy supports and ensures lane dominance.
Using Goo Strategically
Goo‘s primary role is to enhance your support’s ability to control and damage enemies. When paired with ranged or high-damage supports, Goo’s armor reduction and slow effect significantly improve overall lane presence and kill potential.
Synergy with High-Damage Supports
Bristleback synergizes exceptionally well with supports like Willow. Willow’s disables and damage complement Goo’s slow and armor reduction, allowing Bristleback to dominate engagements by targeting multiple enemies and enabling quick takedowns.
Advanced Strategies for Competitive Play
In competitive play, Bristleback excels as a disruptive force that applies conarmor and sustain through extended fights, advanced strategies involve timing key rotations to contest objectives like Roshan and Tormentors. Proper resource management is crucial, ensuring Bristleback can continually apply Goo and Quill Spray while maintaining presence in fights. Effective use of positioning allows him to bait enemies into overcommitting, enabling his team to capitalize on counter-engagements. Synchronizing his debuffs with allies’ high-damage abilities ensures maximum impact, making him a valuable asset in coordinated team strategies.
Forcing Engagements and Rotations
A core strategy with Snot Rocket Bristleback involves pressuring enemies into unfavorable engagements. Contesting camps or applying consistent lane pressure forces enemies to respond, creating opportunities for your team to capitalize.
Mana Efficiency and Damage Output
Snot Rocket’s Goo costs just 12 mana, making it a highly efficient ability to spam in fights. While its damage output is lower than Quill Spray, its utility in slowing and debuffing enemies outweighs this drawback, especially when combined with supportive allies.
Limitations of the Build
One downside of this build is its lack of wave-clearing ability and secure ranged creeps early on. These weaknesses necessitate strong lane synergy or additional planning to maintain lane control without losing resources.
Starting Items and Early Game Setup
Start with two branches and a Bracer for durability. Alternatively, choose a circlet, gauntlet, and tango for additional stats, adapting based on your lane matchup. These items ensure a strong foundation for early skirmishes.

Building Bristleback Effectively
Building Bristleback effectively involves focusing on a balance of durability, utility, and damage output to maximize his impact throughout the game. Start with items that provide sustain, such as a Bracer, Ring of Tarasque, or a Headdress, to withstand early aggression in the lane. Transition into mobility-enhancing choices like Phase Boots or Power Treads to complement his playstyle, allowing for better engagement or farming efficiency. Mid-game priorities should include items like Pipe of Insight for team sustain or Lotus Orb for dispels, depending on the enemy lineup. Bristleback’s Shard upgrade, which enables Hairball, is a critical purchase for enhancing his teamfight presence and enabling rapid debuffs. Adapting item choices based on the game’s flow ensures Bristleback remains a formidable force across all stages of play.
Core Items for Success
A Quelling Blade is essential for last-hitting when not relying on Quill Spray. Early boots and a Magic Wand provide sustain and mana regeneration, critical for prolonged fights and consistent ability usage.
Skill Prioritization and Flexibility
Maxing Goo early is effective for its armor reduction and slow, but avoid over-committing points into Quill Spray. Reserve skill points for flexibility based on the game’s tempo and your team’s needs.
Combining Abilities for Damage Output
The synergy between armor reduction and Quill Spray amplifies your overall damage significantly. Even in challenging engagements, this combination ensures you remain a threat to squishy or isolated targets.
Adaptation and Itemization
Adaptation and itemization are key to ensuring Bristleback’s effectiveness against varying opponents and in different game scenarios. Begin by evaluating your lane matchup—if you’re against heavy physical damage, prioritize early sustain items like Vanguard or Ring of Tarasque. Against magical damage, opt for a Cloak or Pipe of Insight to mitigate burst potential. Transition into core items based on your role in fights; for example, if your team lacks initiation, a Blink Dagger can provide essential mobility, while a Crimson Guard can bolster team defense against heavy physical lineups. Always be ready to pivot your build depending on the game’s progression, whether focusing on additional utility like Lotus Orb for dispels or scaling tank items such as Heart of Tarrasque for late-game dominance. Flexibility is critical to Bristleback’s success.
Choosing Items Based on Lane Dynamics
In easier lanes, consider replacing Bracer with Null Talisman for additional mana regeneration. In tougher matchups, focus on sustain with items like Headdress or Ring of Tarasque to endure prolonged fights.
Phase Boots vs. Power Treads
Phase Boots provide mobility for aggressive plays, while Power Treads offer better farming efficiency and survivability. The choice depends on your playstyle and the game’s pace.
Mid to Late Game Strategies
In the mid to late game, Bristleback transitions into a tanky frontliner and team-fight disruptor, capable of soaking damage and controlling engagements. Focus on maintaining consistent farm by stacking and clearing jungle camps while keeping pressure on lanes to limit enemy movement. Objectives like Roshan and outer towers should be prioritized, leveraging Bristleback’s durability and negative armor abilities to secure quick takedowns. Engage strategically during team fights, using your high mobility and survivability to draw enemy focus while your team capitalizes on the chaos. Adapt your itemization to counter enemy threats, building defensive items like Pipe of Insight for magic resistance or Lotus Orb for utility, ensuring you remain effective throughout prolonged encounters.
Efficient Farming and Scaling
Focus on stacking and clearing camps with Goo and Quill Spray. Avoid unnecessary roaming; instead, prioritize consistent resource accumulation to scale effectively into the mid and late game.
Itemization for Sustain
Items like Soul Ring and Pipe ensure Bristleback’s survivability in extended fights. Complement these with Raindrops and Ring of Tarasque for optimal regeneration and tankiness during engagements.
Shard Timing and Utility
Bristleback’s Shard, which enables Hairball, is a game-changing upgrade. This AOE ability amplifies armor reduction and slows multiple enemies, making it invaluable during team fights or objective contests.
Bristleback’s Role in Team Fights
In team fights, Bristleback excels as a durable frontline disruptor and consistent damage dealer. His primary role is to absorb damage while applying constant pressure through Goo and Quill Spray, softening enemy defenses and enabling his team to capitalize on weakened targets. Positioning is crucial—maintain a presence in the center of engagements to draw attention while ensuring your back faces incoming threats to maximize Bristleback’s passive durability. Use Hairball strategically to slow and reduce the armor of clustered enemies, creating opportunities for your allies to burst down priority targets. By combining his tankiness with effective area control, Bristleback can dictate the flow of team fights, turning chaotic skirmishes into decisive victories.
Hairball and Negative Armor Synergy
Hairball applies significant AOE armor reduction, enabling your team to focus on high-priority targets. Use this ability to maximize damage output during dense engagements and capitalize on enemies’ vulnerabilities.
Exploiting Negative Armor Mechanics
Each point of reduced armor increases the damage an enemy takes by 8%. Focus on high-value targets with low armor to ensure your team secures kills quickly and efficiently.
Defensive and Sustain-Oriented Items
Pipe is often preferred over Lotus Orb due to its flat resistance and regeneration. Combine it with Sange to further enhance your health pool and regen capabilities, ensuring you remain impactful throughout fights.
Late Game Impact
As the game progresses, Bristleback becomes a nearly unstoppable tank capable of dominating map control. Leverage his tankiness and disruptive abilities to pressure objectives and maintain dominance.
AOE Goo and Its Applications
AOE Goo is a cornerstone of Bristleback’s utility, offering powerful crowd control and team-fight dominance. By applying a wide-reaching slow and substantial armor reduction, AOE Goo disrupts enemy positioning and amplifies the damage output of your entire team. This ability is particularly effective in clustered engagements, where multiple opponents are affected simultaneously, leaving them vulnerable to follow-up attacks. To maximize its impact, focus on positioning yourself at the center of fights, targeting groups of enemies to spread the debuff efficiently. Pairing AOE Goo with high-damage or burst-heavy teammates ensures swift eliminations, turning even tough encounters into manageable engagements. Its synergy with Bristleback’s other abilities cements its role as an essential tool for dominating team fights.
Strengths of AOE Goo
AOE Goo outshines Quill Spray in team-oriented scenarios, offering superior utility in slowing and debuffing multiple enemies. Its impact is magnified when paired with heroes who benefit from sustained engagements.
Maximizing AOE Goo in Fights
In team fights, prioritize positioning to maximize AOE Goo’s impact. Target clustered enemies to reduce their armor and slow their movements, creating openings for your team to capitalize.
Team Strategy Implications
Effective use of AOE Goo requires coordination. Teams that synchronize their abilities with Goo’s debuffs can secure significant advantages in extended engagements, turning seemingly even fights in their favor.
Thank you for diving into our guide! Discover our exceptional Dota 2 boosting services and elevate your gaming experience with our top-tier boosts.