

Dota 2 Carry Tier List for Solo MMR

- How to Use This Tier List
- D-Tier: Carries to Avoid for Solo MMR
- D-Tier Hero Breakdown
- C-Tier: High-Risk Carries
- C-Tier Hero Breakdown
- B-Tier: Reliable but Demanding Carries
- B-Tier Hero Breakdown
- A-Tier: Strong Picks for Stable MMR
- A-Tier Hero Breakdown
- S-Tier: Elite Solo Carries
- S-Tier Hero Breakdown
- How to Climb with These Carries
- Common Carry Mistakes to Avoid
- Final Carry Tier List Takeaways
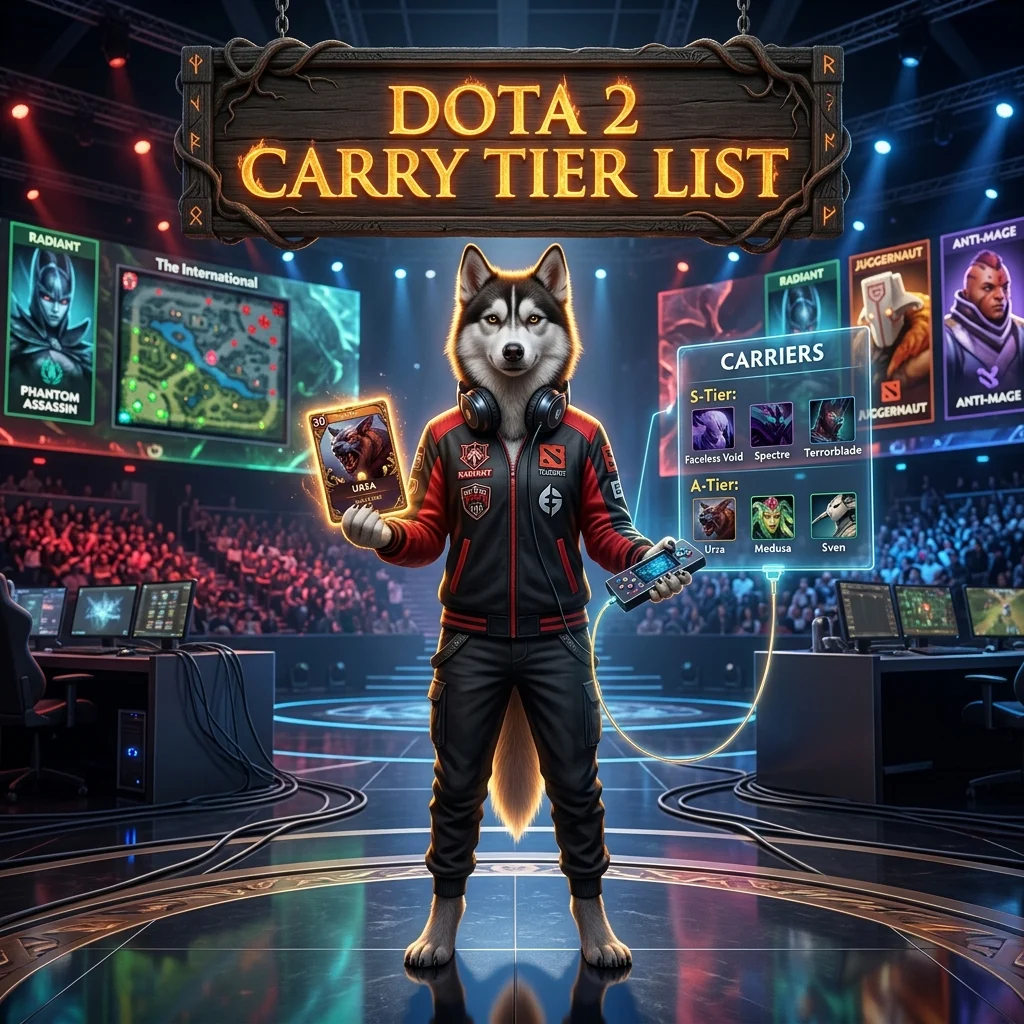
Choosing a carry for solo MMR is not only about late-game damage. In public matches, the best heroes are the ones that can survive an unreliable lane, recover from a poor start, farm without constant assistance, pressure structures, and still contribute after making a mistake.
This Dota 2 carry tier list evaluates heroes using four practical criteria: solo-lane strength, farming and comeback potential, building damage, and resilience to mistakes. The list is aimed at high-MMR solo games, where team coordination cannot always be assumed.
How to Use This Tier List
Tier placement describes how consistently a hero can win games in ordinary solo pubs. A hero can still be strong outside its listed tier when the draft is favorable, the support is reliable, or the player has exceptional mechanical skill.
- Solo lane ability: Can the carry secure farm and survive without constant support?
- Farming and comeback potential: Can the hero recover after losing the lane?
- Structure damage: Can the carry convert an advantage into towers and a winning base push?
- Error tolerance: Does one bad death ruin the hero’s tempo, or can it continue playing?
The most important distinction is between tempo carries and scaling carries. Tempo heroes want to win the map early and maintain an advantage. Scaling heroes can accept a slower start, although they may need more time and space before becoming effective.
D-Tier: Carries to Avoid for Solo MMR
D-tier carries are highly dependent on lane support, early momentum, or a specific team setup. They can work in coordinated matches, but they are unreliable choices when you need to raise MMR consistently on your own.
D-Tier Hero Breakdown
- Riki: Riki needs a strong start and constant support to maintain pressure. If the lane collapses, his recovery options are limited, making him a dangerous solo-MMR pick.
- Monkey King: Monkey King is expected to dominate his lane and dictate the pace of the map. Without proper assistance, he can become ineffective and has an unpleasant time recovering through jungle farming.
- Bloodseeker: Bloodseeker has a weak lane and farms slowly. His healing and movement-based game plan becomes much less reliable when enemies purchase items such as Skadi or Vessel.
- Muerta: Muerta has difficult early farming, poor autonomy, and a heavy reliance on BKB and her ultimate. Her low movement speed also makes her vulnerable to kiting.
- Slark: Slark is another high-tempo carry that needs lane control and early stacks. If the support cannot create opportunities, recovering from a lost lane becomes extremely difficult.
Bloodseeker can occasionally perform better against durable lineups because his shard interacts well with the current environment of high-health heroes. However, his overall weaknesses still make him less reliable than stronger alternatives.
Want to make your ranked climb more consistent? You can get support for your Dota 2 progression through the Dota 2 boosting service.
C-Tier: High-Risk Carries
C-tier heroes are playable, but they require too many conditions to win consistently. A weak support, an unfavorable draft, or one major mistake can turn the game into a difficult recovery mission.
C-Tier Hero Breakdown
- Abaddon: Abaddon is strongly dependent on his position five. With a competent support, he can win the lane, but with poor assistance he becomes a low-impact frontliner. His farming is weak, and his value is concentrated in fights and his powerful ultimate.
- Lifestealer: Lifestealer struggles to win the lane alone and does not farm especially quickly. He remains in C-tier because his late-game skirmishing is stronger than that of many other carries.
- Alchemist: Alchemist usually leaves the lane early and needs his team to create farming space. If the enemy farms at a similar rate, Alchemist loses much of his purpose because he is weaker than most carries with equal items.
- Drow Ranger: Drow is the most capable solo laner in this tier, but her farming speed is poor and she depends heavily on team control. She has almost no margin for error once an enemy reaches her.
- Anti-Mage: Before Battle Fury, Anti-Mage has a weak lane, low health, and limited impact. He needs time to reach his farming items, while some hard carries eventually outscale him. His performance is also highly draft-dependent.
- Spectre: Spectre has one of the most difficult early games and farms slowly. However, she can recover through kills around the map rather than relying only on passive jungle farming, and she remains extremely dangerous in the late game.
These heroes are not automatically bad. They simply demand more from the draft and the rest of the team. Pick them when you understand why the matchup works, not because they are comfortable late-game choices in every match.
B-Tier: Reliable but Demanding Carries
B-tier carries are a practical foundation for a larger hero pool. They can win solo games, but each has a clear weakness: a slow start, difficult execution, dependence on positioning, or vulnerability to particular forms of control.
B-Tier Hero Breakdown
- Faceless Void: Void can survive the lane and wait for Battle Fury, although his early farming is not impressive. His late-game Chronosphere remains one of the strongest team-fighting tools in Dota 2.
- Medusa: Medusa’s priority is surviving the early game. Once she acquires her core items, she can often fight multiple heroes alone, although specific counters remain highly problematic.
- Kez: Kez can carry a lane without much help, but he requires excellent execution and does not recover comfortably from the jungle. In the hands of a specialist, his impact can be much higher than this tier suggests.
- Phantom Assassin: Phantom Assassin farms slowly and has a difficult lane in the current environment, but her mid-game and late-game critical-hit damage is enormous. She needs favorable draft conditions, especially enough control for enemies with BKB.
- Shadow Fiend: Shadow Fiend can win a lane and clear waves quickly, but he is still a classic glass cannon. One positioning error can allow the enemy to jump and disable him before he can deal damage.
- Tiny: Tiny is a strong lane holder who can quickly transition into items such as Echo Sabre and Blink or Shadow Blade, then snowball across the map. Percentage-based damage from heroes such as Winter Wyvern and Underlord can make some matchups uncomfortable.
- Troll Warlord: Troll farms slowly before Battle Fury but accelerates sharply afterward. He is heavily tied to BKB and can be shut down by reliable BKB-piercing control or multiple saves on the enemy team.
- Ursa: Ursa is a strong laner and can deal serious early damage, but he needs an active support to snowball. Jungle farming is difficult before Battle Fury, yet he remains a stable carry with useful late-game strength.
To get the most from B-tier heroes, identify their limiting factor before the match begins. For example, Shadow Fiend needs disciplined positioning, while Ursa needs early action and support. Treating them all as generic farming carries will reduce their effectiveness.
A-Tier: Strong Picks for Stable MMR
A-tier carries are capable of winning games with limited assistance. They farm quickly, threaten structures, and can create enough map pressure to force the opposing team to react. Their main shared weakness is a small margin for error: when they play for tempo, one careless death can erase a large advantage.
A-Tier Hero Breakdown
- Luna: Luna can become mostly independent from her support from the early levels by pushing out waves and moving into the jungle. Her passive provides excellent farming speed, and she destroys the enemy base quickly. Her weakness is that losing tempo hurts her severely, and she becomes less dominant against the strongest deep-late-game carries.
- Terrorblade: Terrorblade is rarely truly inactive. His illusions farm, push lanes, and create pressure while he continues building toward his next power spike. He can survive many lanes and scale well, although enemies can kite him during Metamorphosis.
- Morphling: Morphling can survive almost any solo lane and becomes extremely difficult to kill in the hyper-late game. He demands excellent micro, time to reach key items, and precise positioning.
- Naga Siren: Naga Siren is one of the fastest farmers and can destroy buildings rapidly. Her plan is to outfarm the enemy carry and finish the game with superior item slots. The danger is that one overconfident death can throw the entire tempo advantage.
- Nature’s Prophet: Nature’s Prophet can hold the lane, farm quickly, and destroy towers early. With a good support he can remove opponents from the lane, but one or two unnecessary deaths can make his comeback extremely difficult.
- Sven: Sven can move into the jungle early and clear the map quickly. He generally needs to remain one or two items ahead of the opposing carry; if he loses that momentum, his effectiveness drops sharply.
- Templar Assassin: Templar Assassin combines exceptional farming speed, high damage, and strong building pressure. Like Sven, she is often played around a snowballing advantage and can lose the game after a major timing is wasted.
- Wraith King: Wraith King is sometimes underestimated because he can struggle in the lane without adequate support. After reaching his key items, his farming and damage increase significantly. His multiple lives provide one of the best safety nets among carries, especially when combined with Aghanim’s upgrades, buyback, and Aegis.
A-tier carries reward a clear game plan:
- Secure the lane or leave it before it becomes dangerous.
- Farm toward a major timing instead of taking random fights.
- Use your advantage to pressure towers and restrict enemy farming.
- Avoid unnecessary deaths once your team controls the map.
S-Tier: Elite Solo Carries
S-tier heroes combine lane stability, scaling, farming, structure damage, and independence from their team. They are not always easy to play, but their overall design allows them to win difficult public matches with fewer external conditions.
S-Tier Hero Breakdown
- Chaos Knight: Chaos Knight has a useful lane tool for securing ranged or awkward creeps and becomes extremely threatening when his support can contribute basic spells. His farming improves significantly after Armlet and his ultimate, allowing illusions to clear camps and push lanes. Unlike many tempo carries, he remains powerful in the late game with high durability, strong damage, and an upgraded Blink.
- Juggernaut: Juggernaut has one of the safest lanes because Blade Fury and Healing Ward cover both aggression and sustain. If the lane is lost, he can still move into the jungle early and work toward Battle Fury. Battle Fury, Manta Style, and his later item timings give him fast farming, tower pressure, strong late-game scaling, and reliable access to enemy targets through Omnislash.
- Lone Druid: Lone Druid can dominate many offlane matchups and leave the lane with a major advantage. His bear deals extraordinary damage to buildings and can apply pressure independently. After Aghanim’s upgrades, the hero can remain safer while the bear handles much of the map work. The bear’s separate nature also means one positioning mistake does not always end the game.
- Phantom Lancer: Phantom Lancer has the hardest lane among the S-tier heroes, but adequate support or a situational item such as Phylactery can solve specific early problems. His main objective is to survive the opening portion of the game. With items such as Manta Style, Aghanim’s, Skadi, or Bloodthorn, he becomes an exceptionally durable illusion carry capable of fighting several heroes over a long engagement.
Phantom Lancer is especially powerful when the enemy lacks a reliable answer to illusions. Medusa is one of the few carries that can remain relevant against him in the deepest late game, which is why the draft still matters even for an S-tier pick.
How to Climb with These Carries
A strong tier-list hero does not replace good decision-making. To turn the ranking into more wins, use a simple match routine.
- Check the lane before locking in: Consider whether the hero can survive the enemy offlaner and whether your support can provide the required control or sustain.
- Identify your recovery plan: Know whether you will jungle, split-push, take fights, or recover through kills if the lane goes badly.
- Respect your timing: Heroes such as Sven, Templar Assassin, Nature’s Prophet, and Naga Siren are strongest when they convert farm into immediate map pressure.
- Protect your advantage: Do not give away a large farming lead through an unnecessary fight or an aggressive teleport without information.
- Adapt to enemy control: BKB-piercing disables, saves, percentage damage, and anti-illusion tools can completely change the value of a carry.
- Push after winning a fight: Kills are most valuable when they lead to towers, Roshan control, map access, or the enemy carry losing farm.
Common Carry Mistakes to Avoid
- Picking a lane-dependent carry while expecting to play without support.
- Choosing a hyper-late hero when the draft requires early tower pressure.
- Farming passively after reaching a strong timing instead of taking objectives.
- Ignoring BKB-piercing control when selecting a hero that relies on BKB.
- Continuing to fight after losing the tempo that made the hero strong.
- Taking one more risky wave when the enemy has disappeared from the map.
- Assuming that a late-game carry can always recover through jungle farming.
Need help improving your ranked results? Explore professional Dota 2 rank assistance while you refine your carry pool and decision-making.
Final Carry Tier List Takeaways
For the most reliable solo climb, prioritize carries that do not collapse when the support is passive or the lane is difficult. Chaos Knight, Juggernaut, Lone Druid, and Phantom Lancer offer the strongest overall combination of independence, scaling, and game-closing potential.
A-tier heroes such as Luna, Terrorblade, Morphling, Naga Siren, Nature’s Prophet, Sven, Templar Assassin, and Wraith King are also excellent choices when you understand their tempo requirements. B-tier heroes remain valuable specialists, while C- and D-tier carries should usually be selected only when the draft and support provide the conditions they need.
The central lesson is simple: pick for consistency, not just theoretical late-game power. A carry that can survive the lane, recover efficiently, pressure structures, and make use of a lead will win more solo games than a hero that is powerful only in a perfect draft.